Warehouse lighting fails in predictable ways: enough light on the floor but darkness on the racking face, fixtures that survive the first winter but not the first washdown, and a layout designed before anyone asked how high the racks would be. This guide works through lux targets, fixture choice, aisle layout and IP selection in the order a real project needs them.
150 lx
Typical aisle minimum (occupied)
300 lx
Packing & despatch areas
-30 °C
Cold-store operating floor
5 yr
Standard warranty on our tri-proof
Step 1 — Set lux targets by activity, not by building
A warehouse is several lighting projects sharing a roof. Lighting the whole shed to the highest requirement wastes energy; lighting it to the lowest creates accident risk at the pick face and errors in despatch. Zone by activity first.
| Zone | Maintained illuminance | Uniformity (Uo) | Notes |
|---|---|---|---|
| Aisles — unoccupied / transit | 20–50 lx | 0.25 | Motion sensing pays back fastest here |
| Aisles — occupied picking | 150 lx | 0.40 | Measure on the rack face, not the floor |
| Packing / despatch benches | 300–500 lx | 0.60 | Task lighting; consider Ra 80+ |
| Loading docks | 150–300 lx | 0.40 | Add external transition lighting |
| Inspection / QC stations | 500–750 lx | 0.70 | Ra 80+, low flicker for camera work |
| Cold storage | 150 lx | 0.40 | Verify driver rating at low temperature |
Treat these as design starting points; national codes and client standards take precedence.
Step 2 — Match the fixture to the ceiling height
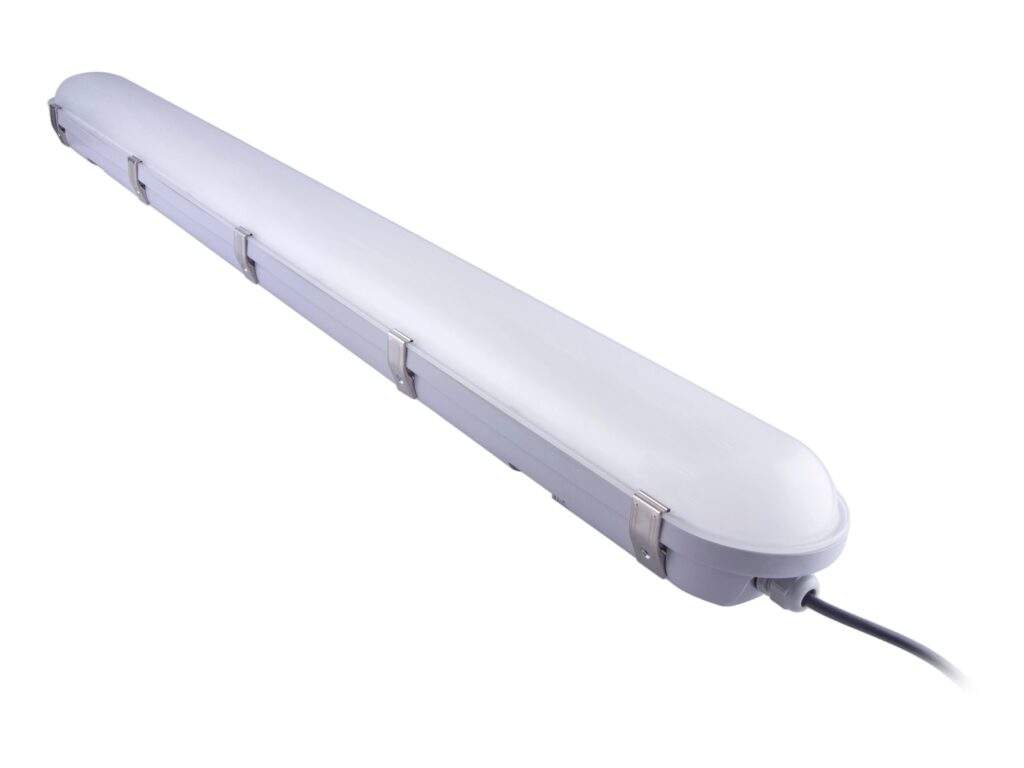
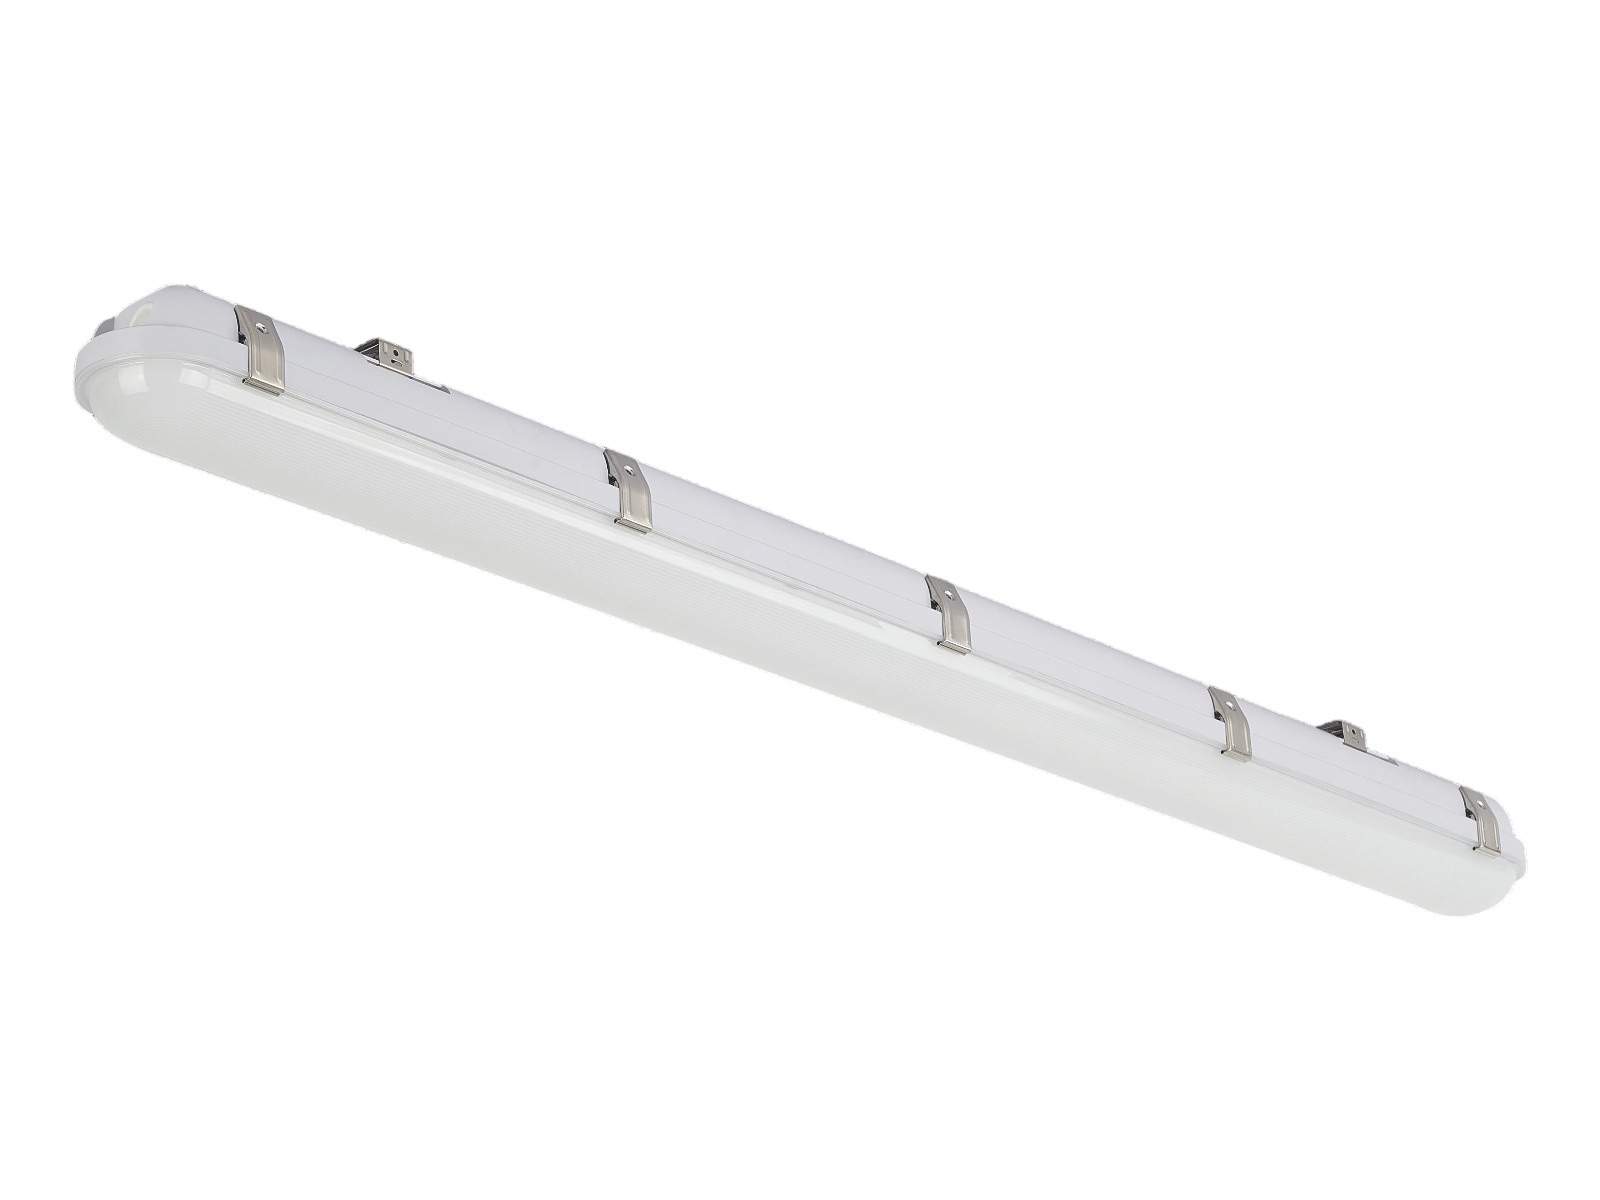
Mounting height drives fixture type more than floor area does. Below roughly 6 m, linear tri-proof fixtures give better uniformity along an aisle than point sources. Above that, high-bay optics deliver the throw more efficiently.
LED tri-proof (linear)
≤ 6 m- Best height
- 2.5–6 m
- Distribution
- Wide, continuous along aisle
- Strength
- Even aisle coverage, low glare
- Typical lengths
- 0.6 / 1.2 / 1.5 m
- IP
- IP65–IP69K available
LED high-bay
> 6 m- Best height
- 6–15 m
- Distribution
- Narrow/medium beam, point source
- Strength
- Efficient throw from height
- Typical output
- 100–240 W
- IP
- Commonly IP65
Beam angle is the second decision. In a racked aisle a narrow beam (60°) run continuously along the aisle centreline delivers better vertical illuminance on the rack face than a wide beam that spills into the racking. In open floor areas the wide beam wins on uniformity and fixture count.
Step 3 — Choose the IP rating honestly
Over-specifying IP is a common and expensive habit. All three ratings below are fully dust-tight; the difference is entirely how hard water arrives. Buy the rating the cleaning regime actually demands.
- 1
Dry or normally humid interior?
General storage, ambient warehousing → IP65 is the practical minimum and usually sufficient.
- 2
Regular hose-down or wind-driven rain?
Loading docks, car parks, outdoor walkways, humid production → IP66.
- 3
Hot, high-pressure washdown?
Food processing, cold chain, pharma — cleaning at high temperature and pressure → IP69K with stainless fixings.
- 4
Impact exposure as well?
Forklift traffic and flying debris → add an IK rating (IK08 typical, IK10 where struck).
- 5
Cold store?
Confirm the driver's rated minimum ambient. Many standard drivers are only specified to -20 °C.
Step 4 — Lay out to the racking, not to the roof
The most common design error is setting out fixtures on a regular grid derived from the roof structure, then installing racking underneath it. The racking blocks the light, the aisles end up striped with shadow, and the fix is expensive. Lay out the lighting after the racking plan is fixed, with continuous rows down the aisle centrelines.
- 1Obtain the final racking plan, including aisle widths and rack heights.
- 2Run continuous fixture rows along each aisle centreline, not across them.
- 3Set spacing from the spacing-to-height ratio in the photometric file — typically 1:1 to 1.5:1 for linear fixtures at these heights.
- 4Model with the racking as obstructions in DIALux; an empty-room calculation flatters every layout.
- 5Add motion sensing per aisle so unoccupied aisles drop to a transit level.
- 6Leave the calculation and IES files with the client for future re-racking.
Step 5 — Controls are where the savings are
Aisles are unoccupied most of the working day. Per-aisle microwave or PIR sensing with a stand-by level of 10–20% typically cuts warehouse lighting energy substantially, with a payback measured in months rather than years — and it does so without reducing light when someone is actually in the aisle.
Set a hold time long enough that a picker working at the far end of an aisle is not left in the dark, and configure a stand-by level rather than switching fully off, so the space reads as safe and navigable from the cross-aisle.
Frequently asked questions
Questions we are asked most often on warehouse and industrial lighting projects.